
There’s something satisfying about the small details on a finished miniature. A weapon barrel with a proper opening catches the eye; a fine wire aerial gives a vehicle a little extra character. Both begin with the same modest bit of kit: a pin vice.
This hand tool also comes in handy for reinforcing suitable joints and preparing magnet recesses. Learning how to use a pin vice is mostly about giving yourself time to see what’s happening. A few careful turns, a check of the angle, another look at the depth: it’s an unhurried skill with plenty of uses across the hobby bench.
If you’re putting that bench together, our guide to essential hobby tools for model builders covers the wider kit. For now, let’s get one small hole right.
The quick guide
- Check the material, available thickness and direction of the hole
- Choose the bit to suit the actual pin, magnet or detail
- Fit the bit securely and support the part
- Turn gently, keeping fingers clear of the drill’s path
- Withdraw regularly to clear waste and check depth
- Test the fit before reaching for glue
What is a pin vice?
A pin vice grips a drill bit so you can rotate it by hand. Working slowly gives you a close view of the cut as it develops, particularly useful when there’s very little miniature to spare.
Three names make choosing and fitting bits easier:
- The collet is the split sleeve that closes around the bit
- The shank is the section held by the tool
- The flutes are the grooves along the cutting section that help carry waste out
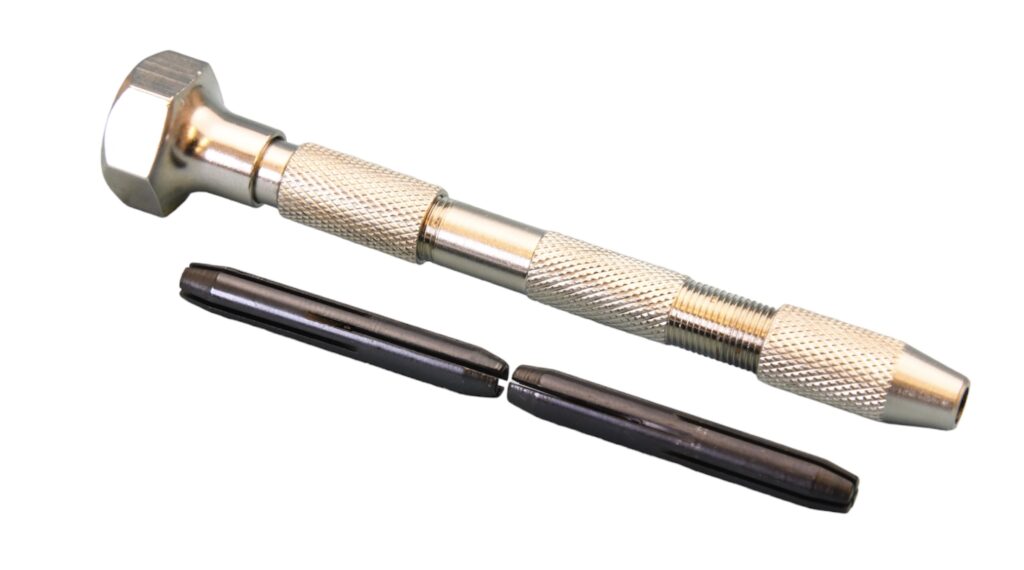
The EXPO Revolving Top Pin Vice has a revolving head and two reversible, double-ended collets, with a stated gripping capacity of 0–3 mm. That figure refers to the shanks it can grip. Shank and cutting diameters can differ, so check both when buying bits. Drill bits are supplied separately.
Choose the hole before choosing the bit
Give the component a good look from several angles. Check its thickness, nearby detail and the route the drill would take, including where its point could emerge. On a curved shoulder or narrow barrel, appearances from the front can be misleading.
For a joint, hold the pieces together in their intended pose. A beautifully centred hole is little use if it heads towards the edge of the other piece.
Choose the diameter for the job:
- For a pin, start with the diameter of your chosen rod
- For a magnet, use the magnet’s dimensions and intended fit
- For a decorative opening, leave enough material around the edge
There’s no universal size or depth. Try the bit and intended component on spare material of the same type where possible; the trial fit tells you more than the packet alone.
An ordinary pointed twist drill leaves a tapered bottom in a blind hole, which is a hole that does not go all the way through. Its point reaches deeper than the full-width cut, so a flat magnet’s thickness alone won’t tell you how far to drill.
Check the bit’s suitability for the material, too. Plastic, cast resin, printed resin and metal need their own consideration. Wear eye protection and follow the material supplier’s dust-control and protective-equipment guidance. An unfamiliar hollow resin print needs particular care: establish that it’s properly cleaned and cured before drilling towards an interior that might contain uncured material.
Choosing a useful set
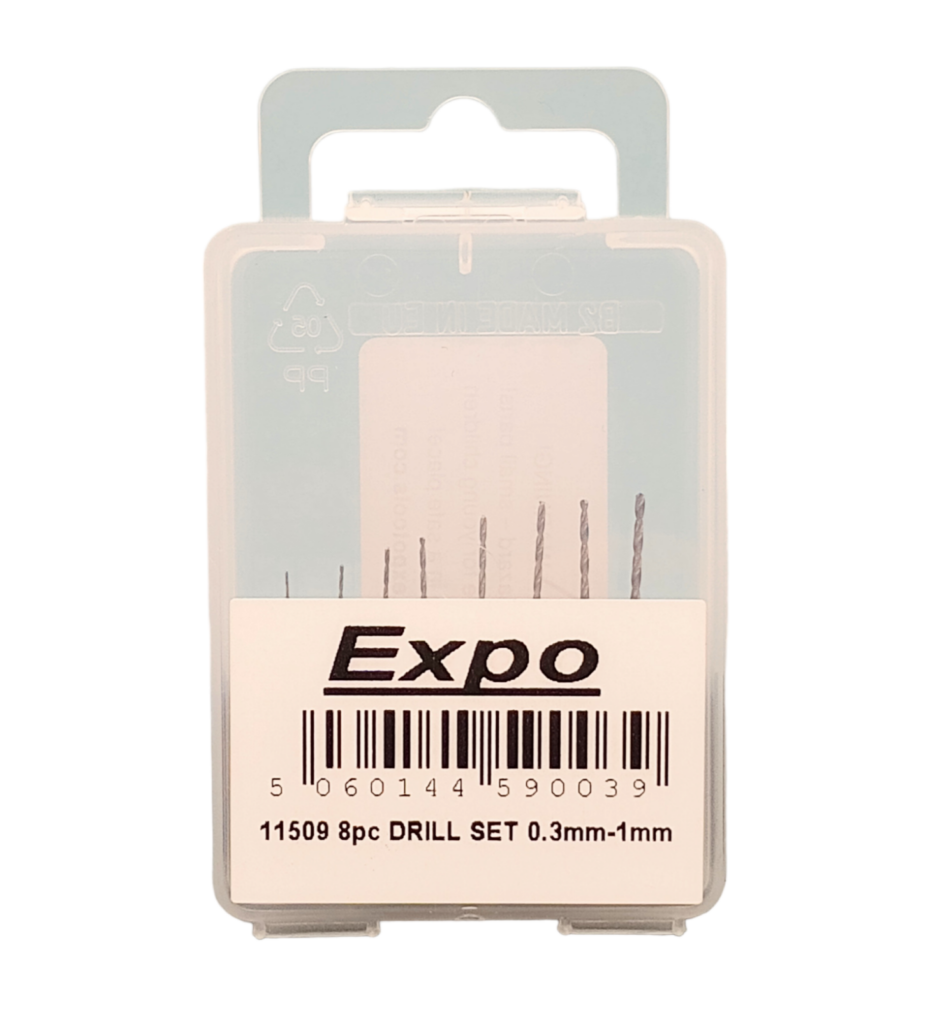
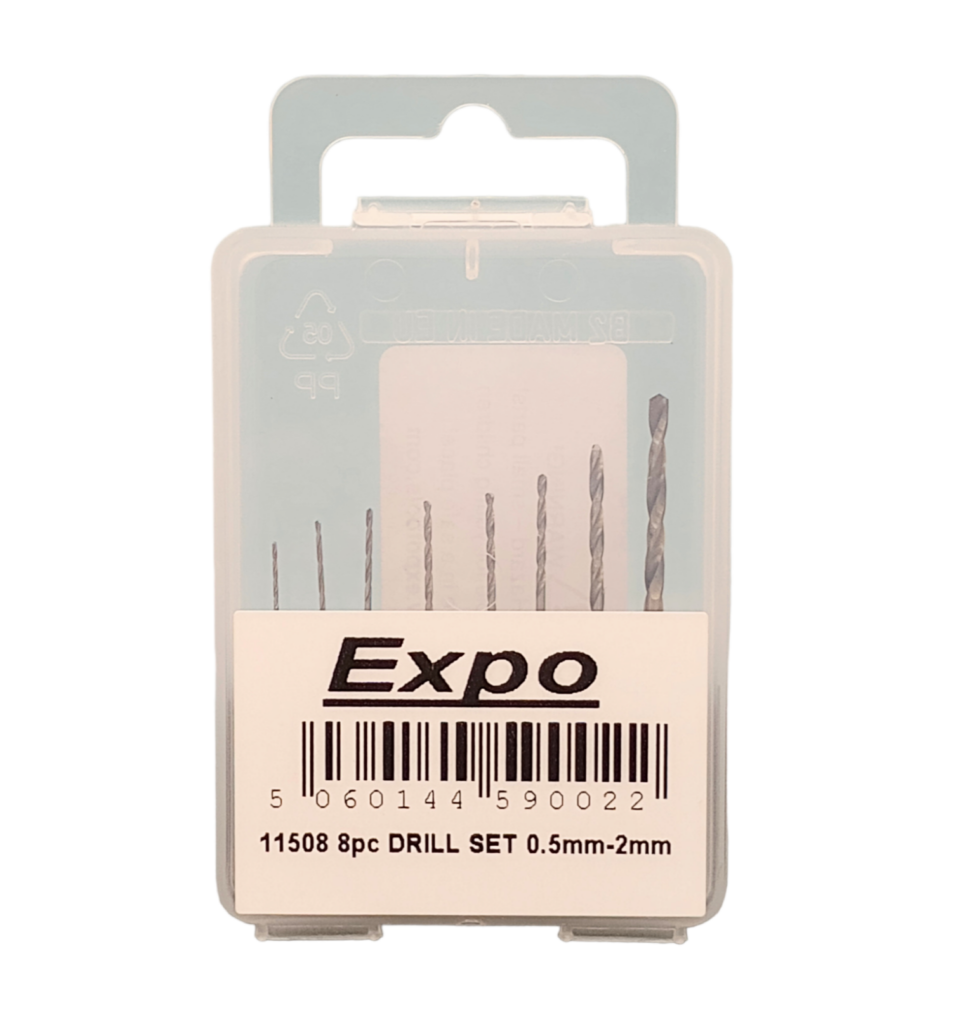
Choose your bits around the projects on your cutting mat. The EXPO eight-piece 0.3–1 mm drill set contains 0.3, 0.4, 0.5, 0.6, 0.7, 0.8, 0.9 and 1 mm bits. The eight-piece 0.5–2 mm set contains 0.5, 0.6, 0.7, 0.8, 0.9, 1, 1.5 and 2 mm bits.
Neither includes a 3 mm bit, and neither covers every possible magnet recess. Check the sizes you actually need before choosing from the EXPO hobby tools range.
Pin vice and drill bits for controlled drilling
How to drill a model part
1. Mark the position
Make a small, visible mark with something suitable for the surface. Check it against the adjoining part or the detail you’re creating. This is the easiest moment to change your mind about the position.
Where possible, drill separate components before assembly so you can see and support them comfortably. Preparing a new kit? Our guides to removing miniatures from sprues and cleaning up mould lines cover those earlier stages.
2. Fit the bit straight
Follow your pin vice’s fitting arrangement and select a collet that securely grips the plain shank, leaving the flutes clear. Keep the exposed bit as short as practical while retaining enough cutting length for your planned hole. Tighten by hand.
Give the tool a slow turn away from the model. The bit should run straight. Wobbling or slipping calls for stopping and reseating it; a bent or damaged bit needs replacing. It’s worth sorting this out before a favourite miniature enters the picture.
3. Support the part
Support the component so it cannot roll or twist. A small padded clamp or vice can help where the shape permits, provided it won’t crush delicate detail.
Keep your fingers out of the drill’s projected path, including behind the part. An unexpectedly early breakthrough must leave the point somewhere safe to go.
Good light and a clear view from more than one angle make the next stage much easier. Take a moment to arrange the work comfortably.
4. Start with light, controlled turns
Set the point on your mark and line up the bit with the intended hole. With a conventional right-hand twist drill, turn clockwise when viewed from the handle towards the point. Apply light pressure along the bit’s axis. A revolving head can rest against your palm while your fingers turn the body.
Let the cutting edges work. If the point skates, stop and improve the support and starting position. More pressure tends to make a wandering start harder to rescue.
Once the hole begins, keep the same angle. Don’t steer the bit sideways to move the hole. For a through-hole, ease the pressure as the point approaches the far surface. Those final turns deserve as much care as the first.
5. Clear the hole and check the depth
Advance a little at a time, withdrawing straight along the hole’s axis to clear shavings. Check for packed waste in the flutes, then re-enter on the same line. Handle waste as the material supplier advises; never blow resin dust around the bench.
A small tape mark on the bit can give you a visual depth reference if it stays clear of the cut. It cannot physically stop the drill, so keep checking your progress.
If the bit binds, slips or visibly flexes, stop applying pressure. Check support, alignment and accumulated waste before continuing. Forcing another turn or levering sideways risks turning a straightforward job into a repair.
6. Test before committing
Remove loose waste safely and inspect your work. Try the pin or magnet without glue, or look closely at the decorative opening.
A pin should enter without hammering. Check its depth and whether the complete joint closes properly. A magnet should reach its intended position without forcing the surrounding material.
Make adjustments gradually. A hole that’s a little shallow gives you another careful pass; one that has emerged through a shoulder pad is a different proposition. Resist reaching for the glue until you’re happy with the fit.
Apply the technique to your project
Pinning miniature joints
A pin can reinforce a suitable joint, especially when you’re planning a conversion. First decide whether the model needs that extra support; pinning every connection adds work and holes without necessarily helping.
Dry-fit the parts in their intended pose, then plan both holes together. Your chosen rod needs to follow the same line through the joint, with enough material around each hole. Use a cutter rated for the rod material: plastic sprue cutters aren’t automatically suitable for metal.
For a simple joint, a paint-transfer mark can help you line up the second hole. After drilling the first, fit the pin temporarily with a short end projecting and touch a tiny spot of paint onto its tip. Bring the other part into its intended position to transfer the mark. Check the mark and drilling angle before making the second hole.
Test the assembly with the pin in place. The mating faces should meet neatly, without an overlong pin holding them apart. Remove any paint from the bonding surfaces before gluing, following the adhesive’s preparation instructions.
Fitting magnets
For a model with interchangeable weapons or fittings, magnets can keep those options open. Choose the magnets first, checking there’s room for their diameter, thickness and the tapered bottom left by the drill.
Fine-detail drill sets may not include the size you need. Get the correct bit rather than pushing a smaller one sideways to widen the hole. Test the fit dry before gluing.
Check that the faces which will meet attract each other, and keep track of that orientation throughout fitting. It’s a small check that can save a thoroughly frustrating assembly. Never drill a magnet itself. Keep loose magnets away from children, as swallowing them can cause serious injury.
Opening weapon barrels and adding details
A barrel opening is a lovely finishing touch, and usually easy to appreciate once the model is painted. Study the muzzle, mark its centre and aim along the barrel’s axis, leaving enough material around the opening.
A cosmetic hole may only need to be shallow. Pause to judge the appearance as you go; extra depth doesn’t automatically improve it.
The same technique can prepare holes for wire aerials, cables and other conversion details, using dimensions and materials suited to each job. Our creative ideas for customising game miniatures offer a few directions for the next project.
Finishing the job
Choose an adhesive suited to the actual materials and follow its preparation and curing instructions. Plastic cement will not bond a metal pin or magnet. If a hole is oversized or off-centre, pause and reassess; filling the gap with more glue isn’t a reliable answer to every problem.
Start your first attempts on a forgiving spare component. Get a feel for the turns, learn to spot a wandering angle and enjoy making a clean hole exactly where you intended. Then take that confidence back to the kit on your bench. There’s probably a little detail there that deserves the attention.