
Learning how to remove miniatures from sprues cleanly should be simple. Then comes the sound every modeller knows: a neat little snip, followed by the horrible realisation that the part in your hand now has a white scar across it – or, worse, that half the detail is still clinging triumphantly to the sprue.
It is a cruel way for a build to begin. The paint pots are still closed, the glue has not left its drawer and your miniature already bears a battle wound that definitely was not in the sculpt. The good news is that learning how to remove miniatures from sprues cleanly is straightforward. Whether you are building a Warhammer regiment, a colour-moulded Gunpla, a 1/35 tank or a tiny ship bristling with railings, clean removal comes down to the same calm sequence: free the part, reduce the gate, then finish the surface.
That distinction is the heart of this guide. Cutting, trimming and smoothing are three different jobs. Ask one heroic squeeze of the cutters to perform all three and the plastic usually sends you the bill.
The Bomran Guide
Guide type: Plastic model preparation tutorial
Best for: Wargamers, Gunpla builders and scale modellers
Covers: Two-stage cutting, cutter types, nub removal, clear parts and stress marks
Key principle: Free the part first; finish the attachment point second
Estimated reading time: 15 minutes
In this guide
- The short answer
- Why the two-cut method works
- Choosing sprue cutters
- The complete cutting and clean-up method
- Preventing and fixing white stress marks
- Clear, thin and delicate parts
- Common mistakes
- Frequently asked questions
The short answer: how to remove miniatures from sprues safely
- Check the instructions and identify every gate attaching the part to the frame.
- Support the sprue and component so neither can bend or spring away.
- Make the first cut through the gate a short distance away from the part.
- Remove the remaining stub with a controlled second cut or several thin shavings.
- Level the final nub with a sharp modelling blade, fine file or suitable abrasive.
- Inspect the area under angled light and by touch before removing any more plastic.
One rule before we go any further: never twist a component from the frame. It feels quick right up to the moment the gate tears a crater from a shoulder pad. The tear decides where it stops, not you.
Sprue, runner, gate and nub: what is the difference?
Before the cutters come out, let us tidy up the language. Hobbyists often call the entire plastic frame the sprue, while kit instructions may call it a runner. The gate is the narrow bridge joining the part to that frame. Snip the part free and whatever remains on the surface becomes the nub, or sprue mark – the small, stubborn reminder that your work is not quite finished.
| Term | What it means | What you do with it |
|---|---|---|
| Sprue or runner | The frame holding the kit parts | Cut the gate, not the main frame beside the component |
| Gate | The connection between frame and part | Cut it in controlled stages |
| Nub or sprue mark | Material left after the gate is cut | Trim and smooth it |
| Mould line | A fine ridge where sections of the mould met | Scrape it rather than treating it as a nub |
| Assembly seam | The join between separate components | Improve the fit, bond and fill if required |
This is more than vocabulary for vocabulary’s sake. Sprue cutters remove gates. A knife, file or abrasive refines the nub. A mould-line remover tackles a raised mould line. They may all appear during the same five minutes at the bench, but giving the wrong tool the wrong job is how five minutes becomes an evening of repair work.
Why the two-cut method is safer
Here is the bit that changes how you look at every sprue. Cutters do not make plastic politely vanish. As the jaws close, they shear, wedge and compress the gate. Push them against the component on the very first cut and that force has nowhere to go except into the part you wanted to preserve. The familiar souvenirs are a pale stress mark, a shallow dent or a torn crater.
The two-cut method gives that force somewhere far less important to go: into a scrap of gate you were planning to remove anyway.
First cut: free the component
Place the cutters on the gate and deliberately leave a little plastic attached to the part. This is the liberation cut, not the beauty cut. Its only job is to separate the component from the frame without sending a squeeze of pressure into a delicate edge.
How much should you leave? There is no magic measurement because gates vary enormously. A fine infantry arm may need only a modest margin; a thick vehicle component or hard plastic may justify more. Leave enough that the cutter’s compression cannot reach the finished surface, but not so much that the remaining stub becomes awkward to control.
Second cut: reduce the gate
Now the component is free, you can turn it towards the light, support it properly and approach the stub on your own terms. On a broad, sturdy surface, a good cutter may leave almost nothing behind. On a curved shoulder pad, a visible armour panel or a crisp edge, leave the faintest proud nub and let a blade or abrasive complete the job. There are no medals for making the closest possible cut.
The second cut should be deliberate rather than flush at any cost. “Flush cutter” describes the shape and capability of the tool; it is not an instruction to bury the jaw against every component.
Sprue cutters vs side cutters: are they the same?
The names overlap enough to confuse almost every newcomer. A hobby sprue cutter is a side cutter built for plastic modelling, usually with fine jaws and a relatively flat cutting face. The chunky side cutters from the household toolbox may look closely related, but they are often intended for wire and heavier work. On a tiny plastic gate, their thicker jaws can behave less like a scalpel and more like a pair of bolt croppers.
If a tool has spent its life cutting wire, keep it away from a carefully moulded kit. Wire can notch or dull fine edges, and a damaged cutter tends to squeeze and tear plastic rather than cutting it cleanly. Likewise, delicate modelling cutters should never be used on steel wire, paperclips, pins or material beyond the maker’s stated capacity.
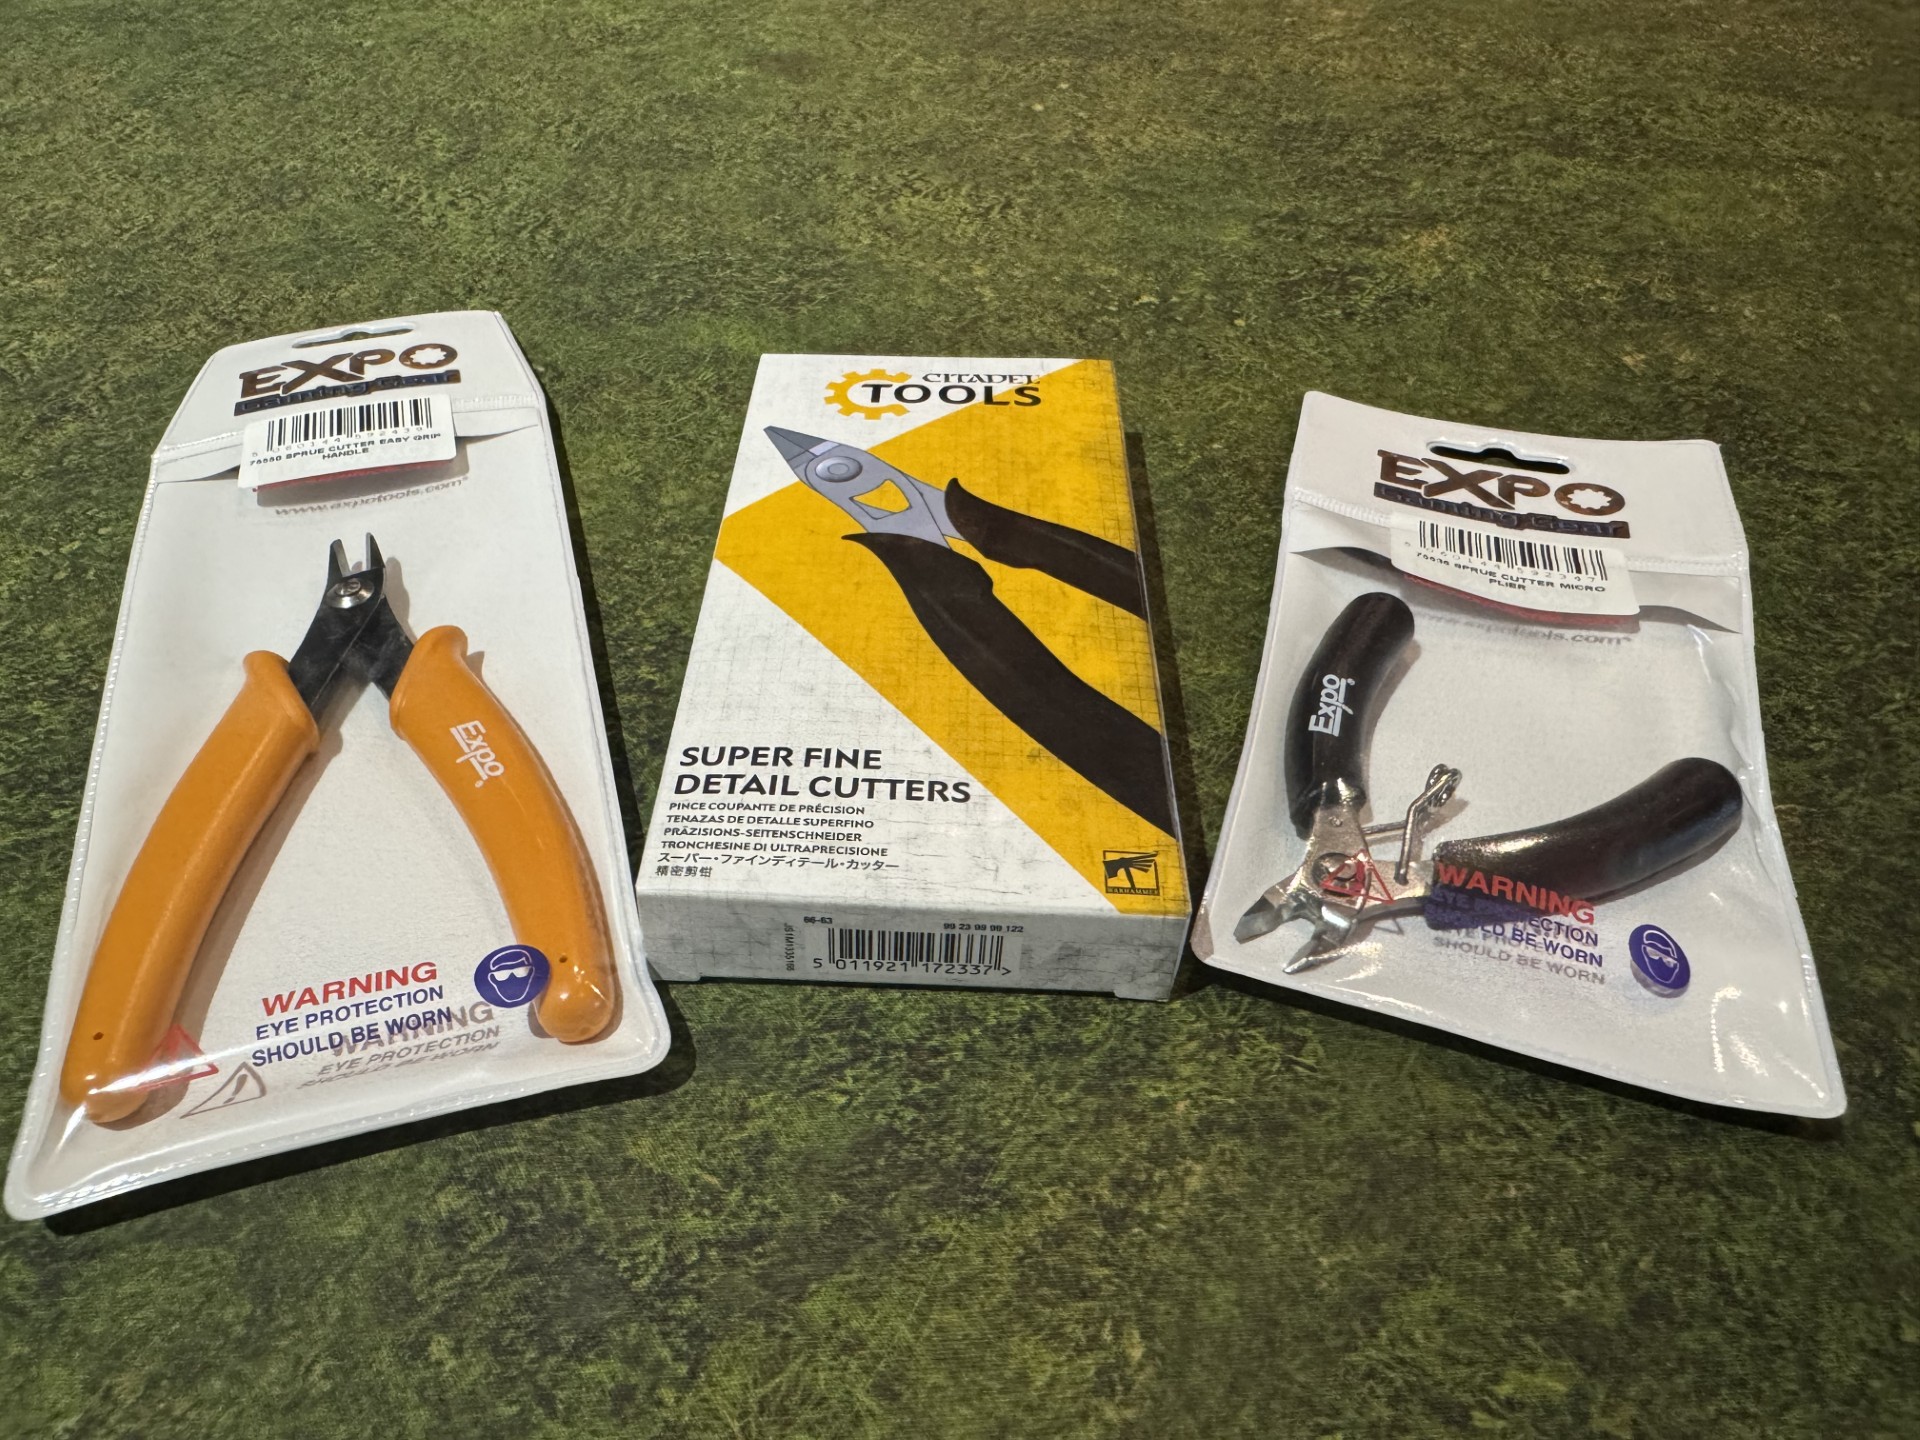
A comfortable, spring-loaded hobby cutter is a sound first choice because a large kit can ask for hundreds of repeated cuts. The EXPO Easy Grip Sprue Cutter offers a larger 5-inch format for comfortable everyday work, while the compact EXPO Sprue Cutter Micro Plier is useful when control and access matter most. Fine pointed jaws reach into crowded frames, while a flatter face makes the finishing cut easier to judge. Do not become hypnotised by price tags, exotic steel or the cutter currently enjoying heroic status online. The best tool is the one that suits the gate, fits the space and lets you see exactly where its edges will meet.
Single-blade vs double-blade sprue cutters
Most conventional hobby cutters use two sharpened jaws that meet and pinch through the plastic. They are the dependable workhorses of the modelling desk: robust, versatile and perfectly happy making first cuts all afternoon. The compromise is that both sides displace material as they close, so an over-confident close cut can leave a more obvious mark.
A precision single-blade nipper is the specialist in the team. One very fine blade moves towards a flat supporting jaw, slicing through the gate with less pinching. On suitable polystyrene it can leave an exceptionally clean second cut – a real advantage on colour-moulded Gunpla and other kits that may never see primer. If this is your first Bandai build, our beginner’s guide to Gundam model kits explains the wider snap-fit building process. For a 30MM robot build, our 30 Minutes Missions tools and assembly advice covers nippers, press-fit construction and getting started without glue or paint.
Specialists have boundaries. That fine blade is not there to wrestle thick runners, hard transparent plastic, metal or anything that requires a twist of the wrist. Force it, cut at an angle or turn the tool while the blade is buried and an expensive precision edge can become an expensive lesson. The seasoned approach is wonderfully unglamorous: sturdy cutters for freeing parts, precision nippers for the clean second cuts they were designed to make.
| Cutter type | Best use | Main caution |
|---|---|---|
| Standard double-blade hobby cutter | First cuts and general plastic kits | May pinch the gate on very close cuts |
| Fine pointed cutter | Crowded frames and small gates | Fine tips can be damaged by thick material |
| Precision single-blade nipper | Controlled second cuts on suitable polystyrene | Fragile blade; obey its thickness and material limits |
| Razor saw | Large attachments and some clear or brittle parts | Needs support and room for the blade |
Sprue cutters for the workbench
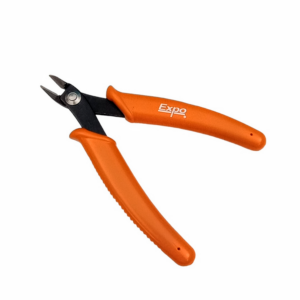
Both of these are straightforward, spring-loaded double-blade cutters for plastic modelling. Choose the Easy Grip version if handle comfort is the priority, or the 4-inch Micro Plier when you prefer a smaller tool around crowded parts.
-
Expo Tools 5in Easy-Grip Sprue Cutters 75550
£8.95 -
Expo Tools 4in Micro Sprue Cutter Pliers 75536
£7.95

From sprue to spotless: the complete method
1. Read the part before cutting
Resist the urge to charge in cutters-first. Find the part number, then trace every connection to the frame. Components have a talent for hiding one last gate behind a piece of runner, especially when you are certain you have found them all. Note which surfaces will remain visible, where an assembly seam will fall and whether a gate is lurking beside a fragile detail.
This is also the moment to spot undergates. An undergate connects to the hidden side or joining edge of a component so the cleanup mark is less visible on the finished model. That is helpful, but it still needs removing fully or the leftover plastic may prevent two pieces fitting together.
2. Support both the frame and the part
Hold the sprue close enough to the gate that it cannot flex wildly, while keeping fingers away from the cutting path. Support long or thin pieces near the point being cut. An aerial, spear or railing can snap simply because the frame springs apart after the jaws close.
If the surrounding frame blocks access, remove a larger section of runner with the component still attached. Work on that smaller section at the bench rather than approaching the part at a bad angle.
3. Position the cutters square to the gate
Give the blades a clear, straight path. Do not use the tips if the gate can sit nearer the stronger part of the jaws, and do not twist the cutters as you squeeze. Close them steadily. If the plastic resists more than expected, stop and reconsider the tool rather than adding a heroic amount of hand pressure.
4. Make the first cut away from the surface
Cut each gate with a safety margin. On a delicate component, think about the order: remove the connections doing the least useful supporting work and leave the gate that steadies the part until last. Cup a hand around very small pieces without crossing the blades, or work over a clear tray. The final snip has an uncanny ability to turn a vital component into a high-velocity offering to the carpet.
5. Reduce the nub in controlled stages
After the part is free, trim the remaining gate closer. If the shape gives you a perfect view and safe access, the flat face of suitable cutters can approach the surface. When the connection sits on a curve, next to detail or on an important visible panel, leave a sliver and change tools.
6. Trim rather than carve
A stubborn nub is a job for thin shavings, not one cinematic chop. Use a sharp modelling blade on a cutting mat, support the component and keep every finger out of its path. Never force that blade through the original gate while the part is still on the frame. Plastic can resist for several seconds and then surrender all at once; your hand rarely has time to renegotiate the direction of travel.
On a flat surface, a fine file or sanding stick can level the final trace. Follow the shape of curved armour rather than sanding a flat spot into it. Protect nearby rivets, panel lines and sharp edges by using a narrow abrasive and checking your progress frequently.
7. Inspect by light and touch
Brush away dust and turn the part under a strong light. A remaining bump will cast a tiny shadow as the angle changes. Run a fingertip gently across the area as well. If it feels level but looks slightly paler or glossier, stop: that colour or sheen change is not necessarily material that still needs removing.
How to remove the final sprue mark
This is the quieter half of good preparation, and arguably the more satisfying one. The right finishing method depends on the shape of the surface and whether paint will eventually cover it.
- Raised nub on a flat painted part: shave it close, then use a fine abrasive. Primer will reveal whether further blending is needed.
- Curved armour: use a flexible sanding sponge or a narrow abrasive that can follow the curve.
- Crisp edge: trim carefully and preserve the edge. Broad sanding can round the profile.
- Recess or tight corner: use a suitably shaped fine file or a controlled blade where safe.
- Colour-moulded, unpainted Gunpla: work through progressively finer abrasives and polish enough to restore an even sheen.
Coarse abrasives remove plastic quickly but leave scratches. Fine abrasives smooth those scratches rather than magically removing a large nub. Begin only as coarse as the job requires, keep the abrasive moving with the surface and progress to finer grades. Exact grit numbers vary between abrasive systems, so judge the scratch pattern rather than treating one number as universal.
If the mark is actually a mould line running beyond the gate, deal with it separately. Our guide to removing mould lines from miniatures explains how to scrape the ridge without flattening nearby detail.
Useful tools for the finishing pass
Once the cutters have done their work, a compact needle-file set helps refine awkward shapes, a cutting mat gives blade work a stable sacrificial surface and a dedicated mould-line remover takes care of the fine ridges you discover during the same inspection.
-
Expo Tools 10pc Miniature Needle File Set 72536
£8.95 -
Expo Tools A3 Self-Healing Cutting Mat 450 × 300mm 71203
£10.00 -
Expo Tools Micro Mouldline Remover 74601
£4.95


Why does plastic turn white when it is cut?
That alarming white crescent is the plastic telling you it was compressed, stretched or torn around the gate. Dark blue, red and black parts display it with particular enthusiasm. Sometimes it is only a pale patch; sometimes it is the visible warning flag for a dent, gouge or hairline fracture beneath.
The usual causes are cutting too close on the first pass, using blunt or unsuitable cutters, twisting the part, approaching a thick gate with delicate nippers, or allowing the component to flex while the gate separates.
Can you fix a white stress mark on plastic?
The honest answer is “sometimes”. You can often reduce the appearance, but no polishing trick can put missing plastic back. Before reaching for another tool, work out which of these problems is actually in front of you:
- A raised nub with a pale edge: finish removing the nub and smooth the surface. Much of the visible mark may disappear with the unwanted material.
- A smooth but whitened surface: very fine sanding and polishing may make it less conspicuous on an unpainted kit, but work cautiously.
- A depression or missing chip: plastic has been displaced or torn away. Sanding cannot replace it; a painted model may need filling, reshaping, priming and repainting.
- A crack: stop flexing the component and repair it according to the plastic and the role of the part before continuing.
For a model that will be primed and painted, the most reliable answer is often to make the surface physically sound and level, then let primer and colour restore the appearance. On an unpainted colour-moulded kit, prevention matters more because there is no paint layer to unify the finish.
Avoid dramatic internet remedies involving flames, very hot tools or uncontrolled heat. They can soften, gloss, distort or permanently damage a component. Flooding a visible area with plastic cement is not a universal cure either: solvent can craze or texture a surface and may erase nearby detail.
Clear parts need a different approach
Clear parts are where confidence should become caution. Canopies, windows, lenses and effect pieces advertise every scratch, every stress mark and every moment of impatience. Some transparent plastics are harder or more brittle than ordinary coloured styrene, and a close squeeze can start a crack that strolls straight into the visible area.
Cut well away from the component, support it carefully and reduce the attachment in small stages. For a large or awkward clear gate, a fine razor saw may be safer because it removes material without the same pinching action. Follow with suitable fine abrasives and polishing products, taking care not to haze the surrounding surface.
Never make the canopy the audition for a new cutter or polishing method. Practise on the transparent frame first. It is the same material, costs nothing and will not sit in the centre of your finished aircraft reminding you of the lesson.
Thin, delicate and awkward components
Spears, aerials, chains, fingers, railings and mechanical linkages are the parts that make you hold your breath. They can snap from shock or flex even when the cutter never touches them. Support the component close to the gate, clear obstructing sections of frame and decide the cutting order before the first snip.
If a thin piece is trapped between several gates, cutting one side may make the frame spring and bend the part against the others. Clip away neighbouring sections of runner first so the assembly can relax. Then make each gate cut with the part supported.
Very small components deserve containment as well as support. Cut them inside a shallow tray, over a light-coloured cloth or with your free hand cupped around the piece without crossing the blades. The carpet is remarkably efficient at collecting parts that the manufacturer never intended to be optional.
Should sprue cutters cut completely flush?
Yes – and that does not mean they always should. A genuinely flush cut is lovely on a sturdy, accessible, reasonably flat surface when the gate suits the cutter. Put the same ambition beside a sharp edge, on a domed shoulder pad or against fine texture and “flush” can quickly become “missing”.
Leaving a fraction of material is not timid workmanship. It is a deliberate handover from the cutting tool to the finishing tool. Ten calm seconds with a blade or sanding stick beats rebuilding a corner that disappeared with the nub.
Common mistakes and what to do instead
| Mistake | What can happen | Better approach |
|---|---|---|
| Twisting parts from the sprue | Torn plastic, stress whitening or snapped detail | Cut every gate separately |
| One close cut with heavy cutters | Compression reaches the visible surface | Use a first cut and controlled finishing cut |
| Using fine nippers on thick runner | Blade damage or an uncontrolled break | Use sturdy cutters or a saw for heavy material |
| Cutting wire with modelling cutters | Notched or dulled cutting edges | Keep separate tools for metal and plastic |
| Removing a whole kit at once | Lost part numbers and damaged loose pieces | Remove parts as the instructions require them |
| Sanding until the colour mark vanishes | A flat spot or erased detail | Judge the surface by touch and angled light |
| Using a knife for the first gate cut | Slips, damaged parts and injured fingers | Use cutters or a fine saw to free the part |
Do you need expensive sprue cutters?
No. A reliable hobby cutter in careful hands will outperform a premium tool being asked to perform miracles. Beginners need clean edges, jaws they can position confidently, comfortable handles and a spring action that opens predictably. Keep the blades clean, store them dry and do not reward their service by feeding them paperclips.
Precision single-blade nippers can be a worthwhile upgrade for builders who assemble many colour-moulded kits and want cleaner second cuts. They do not replace the need for a sturdier general cutter, nor do they remove every sanding and trimming job. Think of them as a specialist finishing tool rather than a universal solution.
If you are assembling your first toolkit, our essential model-making tools guide explains what earns its place on the bench and what can wait.
A five-minute practice drill
Before introducing new cutters to the army general, practise on an empty stretch of sprue. Make one cut with the tips and another nearer the stronger base of the jaws. Try a close cut, then deliberately leave a stub and shave it down. Watch the plastic bend, listen to the cut and compare the marks. Five minutes here can save a repair session later.
This will not perfectly reproduce a gate on a finished surface, but it teaches how your particular cutters behave. More importantly, it turns the two-cut method into a habit before an irreplaceable face, wing mirror or shoulder plate is involved.
Frequently asked questions
How do you cut miniatures off sprues without damaging them?
Use dedicated hobby cutters and make the first cut a short distance from the component. Support the part, free it without twisting, then reduce the remaining nub with a second cut and finish it with a suitable blade, file or abrasive.
What is the difference between sprue cutters and side cutters?
Sprue cutters are side cutters intended for plastic modelling, usually with finer jaws and a flatter cutting face. General-purpose side cutters may be designed for wire or heavier work and can crush small plastic gates rather than cutting them neatly.
Should the flat side of the cutter face the model?
For an appropriate close finishing cut, the flatter face normally goes towards the surface you want to preserve. For the first cut, leave a margin regardless. Cutter designs vary, especially single-blade tools, so follow the manufacturer’s orientation and material guidance.
Can nail clippers remove model parts from sprues?
They may sever some thin gates, but their curved cutting edges and limited access make them a poor substitute for modelling cutters. A basic dedicated sprue cutter offers much better positioning and control.
Can I use a hobby knife to cut parts from the frame?
A knife is useful for carefully reducing a nub after the part is free. It is not the safest choice for forcing through an intact gate because the required pressure can lead to slips, gouges and injuries. Use cutters or, for suitable heavy or brittle attachments, a fine saw.
What grit should I use for sprue marks?
Use only the coarseness needed to level the remaining nub, then move through finer abrasives to remove the earlier scratch pattern. Grit ratings differ between systems, and a painted miniature does not need the same polished finish as an unpainted colour-moulded kit.
Should I remove every part before starting the build?
Usually not. Part numbers are moulded into the sprue, making the frame an excellent organiser. Remove and clean pieces as the instructions call for them unless you have a labelled storage system and a specific reason to work in batches.
The clean cut is only the beginning
The finest sprue work earns no applause because nobody can see it. There is no white scar shining through an unpainted kit, no gouge filling with wash and no ragged nub ambushing the highlight on an armour panel. The component simply looks as though it arrived in the box that way.
So remember the rhythm: free the part first, finish the gate second. Support anything fragile, let the material dictate the tool and stop when the surface is level. It is a tiny ritual, repeated dozens or hundreds of times across a kit, but it sets the standard for everything that follows. Clean cuts lead to cleaner assembly, cleaner paint and – most importantly – far fewer moments spent staring at a damaged shoulder pad while inventing new vocabulary.
When the components are cleaned, assembled and ready for colour, continue with our beginner’s guide to painting miniatures.