




Are you ready to dive into the captivating world of miniature painting? Whether you’re a fan of tabletop games, fantasy adventures, or just enjoy creating art on a small scale, painting miniatures can be a rewarding and relaxing hobby. At Bomran, we understand the thrill of transforming small plastic figures into beautiful works of art, and we’re here to help guide you through the process of getting started with painting miniatures.
Bomran is passionate about providing top-quality products for hobbyists and miniature enthusiasts. Our range of paints, brushes, and accessories will support your journey from beginner to expert, and we aim to make the painting experience fun, engaging, and accessible for everyone. So, whether you’re painting your first mini or looking to refine your skills, you’ve come to the right place! This beginner’s guide will cover everything you need to know to get started with painting miniatures, from understanding the basics to finding the best products for the job. Let’s dive in!
What are miniatures, and what role do they play?
Miniatures are small, scale-model figures that are often used in tabletop games, role-playing games, and hobby projects. They are typically made from plastic, resin, or metal, and they come in all shapes, sizes, and themes. You’ll often find miniatures representing characters, creatures, soldiers, and vehicles that are part of a larger game or creative project.
The role of miniatures in the world of tabletop gaming is immense. Whether you’re playing Dungeons & Dragons, Warhammer, or another strategy game, miniatures help bring the world to life, providing a tangible and visual element that enhances gameplay. For hobbyists, miniatures are a canvas for artistic expression, offering an opportunity to experiment with different techniques, colours, and designs. The process of painting miniatures is both relaxing and creative, allowing you to make each piece truly your own.
How to Start Painting Miniatures: A Beginner’s Guide
Painting miniatures can seem daunting at first, but with the right knowledge and tools, it can become an enjoyable and fulfilling hobby. Here’s a step-by-step guide to help you get started on your miniature painting journey.
Gather Your Supplies
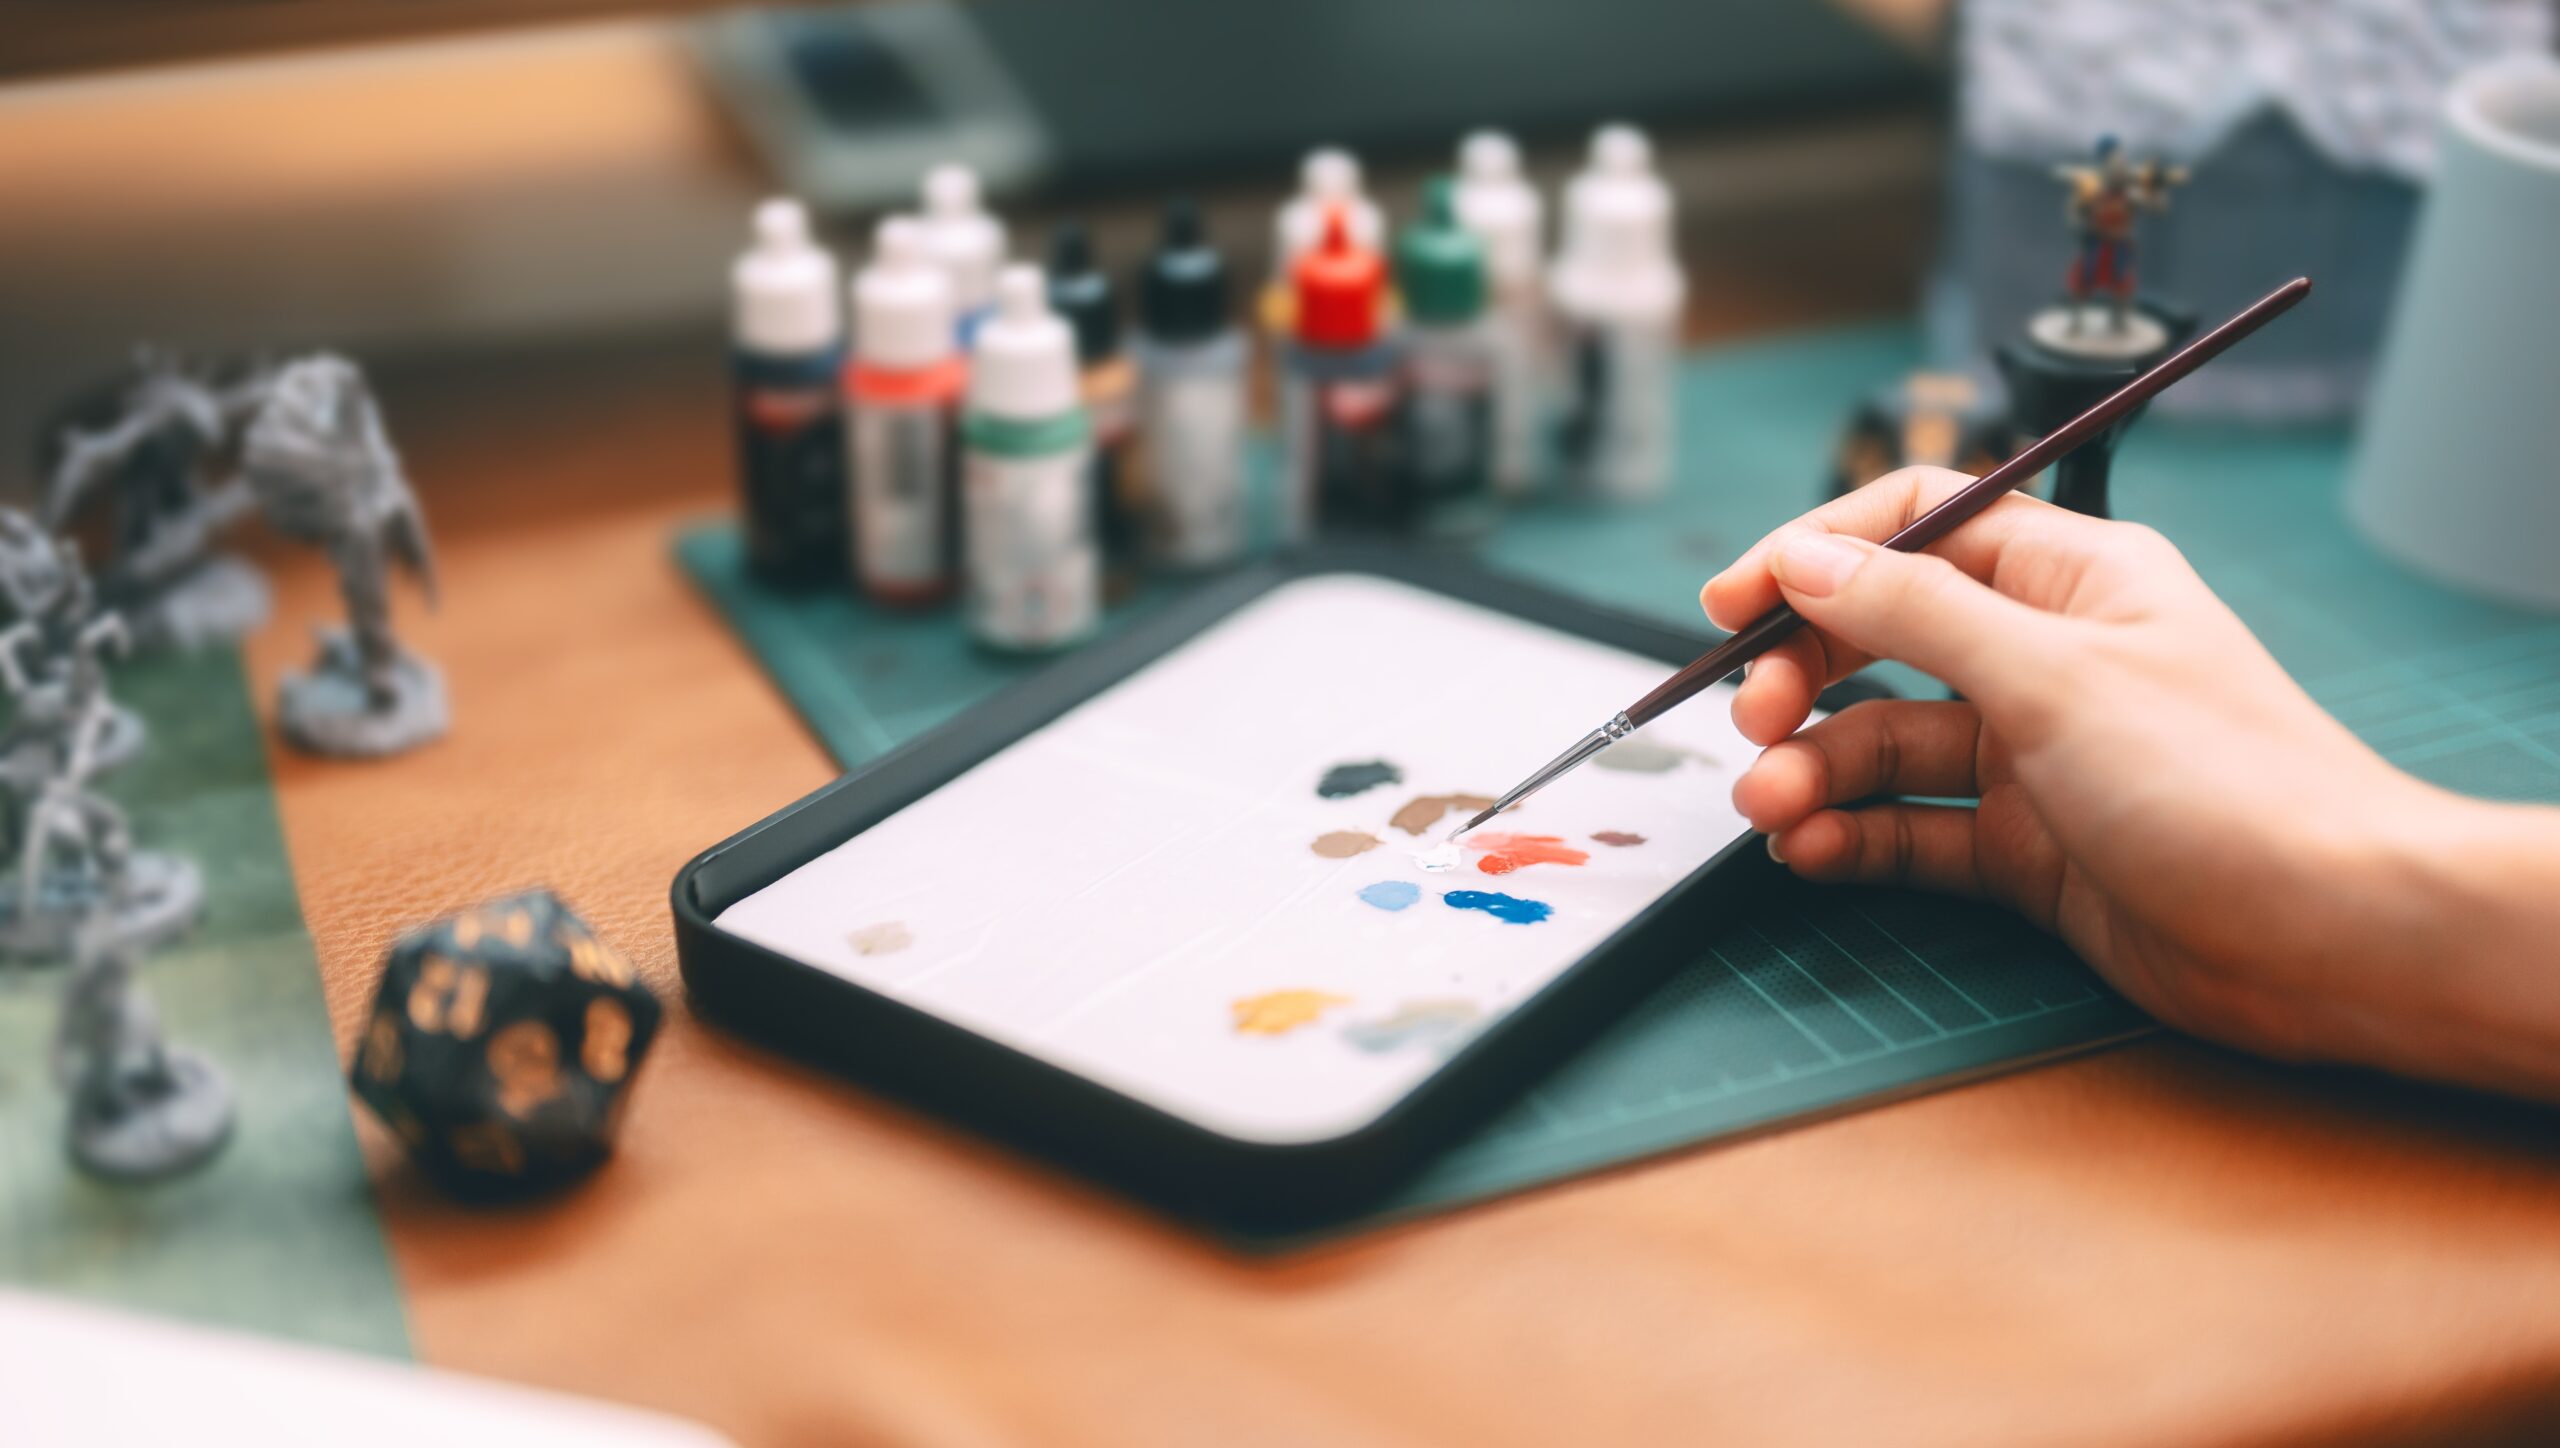
The first step to painting miniatures is to get the right tools. Here’s a basic list of supplies you’ll need:
- Miniatures
Choose your first set of miniatures. You can find kits for specific games, or you can pick up models that appeal to your interests.
- Paints
Look for acrylic paints designed specifically for miniatures. These are thin and easy to work with. Bomran offers a fantastic range of paints that work well on all types of miniatures.
- Brushes
A variety of brushes will help you tackle different areas of your miniatures. Get a fine-tipped brush for detail work and a wider brush for base coating.
- Primer
This is essential for preparing your miniatures. Priming ensures that the paint adheres to the surface and helps to prevent paint from rubbing off later.
- Palette
A good palette will allow you to mix your paints easily and efficiently.
- Water & Paper Towels
For cleaning brushes and keeping your work area neat.
Having the right tools is key to making your painting experience easier and more enjoyable. Once you have your supplies ready, you’re good to go!
Prepare Your Miniatures
Before you start painting, it’s important to prepare your miniatures. If they come in a sprue (a plastic frame), you’ll need to carefully cut the pieces apart using a pair of hobby clippers. Once your model is assembled, check for any mould lines or imperfections. These can be removed with a hobby knife or file to ensure your miniature is smooth and ready for painting.
Next, it’s time to prime your miniatures. This is a crucial step because it helps the paint adhere properly and gives your model a solid base to work on. Spray or brush on a thin layer of primer and let it dry completely before moving to the next step.
Apply a Base Coat
Once your model is primed, it’s time to apply a base coat. This is usually the primary colour that will cover the larger areas of your miniature. Use a larger brush to cover the main parts of your model with smooth, even strokes. If you’re painting a human figure, for example, this could be a skin tone, clothing colour, or armour.
Make sure to allow each layer of paint to dry before applying additional coats. Don’t rush this step – taking your time ensures that the paint goes on evenly and looks great.
Add Shadows & Highlights
The next step is where the magic happens: adding shadows and highlights. Shadows help give depth and dimension to your model, while highlights bring out the details and make your model pop. To create shadows, you’ll need a darker shade of paint for each base coat you apply. Use a wash or a thinned paint and apply it into the recesses of the miniature.
To create highlights, take a lighter version of the paint used in the base coat. Drybrush this lighter shade onto the raised areas of the miniature to make them stand out. Drybrushing is a technique where you use a dry brush to lightly touch the surface of the model, allowing the paint to only catch the raised areas.
Add Detail
Now that you’ve applied your shadows and highlights, it’s time to add fine details. This could include things like eyes, weapons, insignia, and other small elements that will bring your miniature to life. Take your time with these details – using a fine-tipped brush will allow you to get precise lines and add personality to your mini. Don’t be afraid to experiment with different colours or techniques to make these details stand out, whether it’s adding a small gem or painting intricate patterns. These small touches can really elevate your work, giving your miniature a unique and polished finish.
Seal Your Work
Once you’ve completed your miniature, you’ll want to seal it to protect all your hard work. A matte or gloss varnish will help to preserve your paint job and prevent damage from handling. Apply the varnish in thin layers, making sure to cover the entire surface evenly.
Enjoy Your Masterpiece!
The final step is to sit back and admire your work! Don’t be afraid to show off your miniatures to friends, or use them in your next tabletop game. Every miniature you paint is a unique piece of art that reflects your skills and creativity.
As you finish painting your miniature, remember that this is a creative process – don’t worry if it’s not perfect right away. With practice, your skills will improve, and you’ll develop your own style and techniques. Enjoy the journey, and keep experimenting with new colours, ideas, and techniques to make each miniature even more impressive than the last.
Bomran’s Top Tips For Miniature Painting
At Bomran, we’re committed to helping you succeed in your painting journey. Here are a few expert tips to help take your miniatures to the next level:
- Thin Your Paint
One of the biggest mistakes beginners make is using paint straight from the bottle. Thin your paints with a bit of water or painting medium to get smoother and more even coverage.
- Use the Right Brushes
Invest in high-quality brushes that are designed specifically for miniatures. A good brush will give you greater control over your strokes and details.
- Be Patient
Miniature painting is a slow process. Take your time and don’t rush the details. The more patience you have, the better the results!
- Work in Layers
Don’t try to cover everything in one coat. Work in thin layers to build up depth and colour slowly.
- Clean Your Brushes Regularly
Clean your brushes after each use to keep them in top condition. This will also prevent colour mixing and ensure your brushes last longer.
By following these tips, you’ll be well on your way to creating miniatures that look professionally painted. Remember, practice makes perfect, so don’t be discouraged if things aren’t flawless right away – with every model you paint, your skills will grow, and you’ll continue to improve. Stay patient, keep experimenting, and enjoy the process!
Unlock Your Creative Potential
Miniature painting is more than just a hobby – it’s an opportunity to express your creativity, develop new skills, and immerse yourself in the fascinating world of tabletop gaming and model crafting. With the right tools, techniques, and a little patience, you’ll soon be creating stunning miniatures that will impress everyone around you.
So, don’t be intimidated – get started today, and let Bomran help you bring your miniatures to life. The possibilities are endless, and the satisfaction of seeing your painted miniatures on the table is second to none. At Bomran, we offer a wide range of products specifically designed to help you succeed in your miniature painting endeavours. Our selection includes premium paints, brushes, primers, and accessories that are perfect for both beginners and advanced painters.
Not only do we provide high-quality tools, but we also offer helpful advice, tutorials, and inspiration to help you along your painting journey. Whether you need a beginner’s set to get started or specialised paints for specific projects, Bomran has you covered. Visit our website today!
FAQs
What kind of paint should I use for miniatures?
Use acrylic paints designed specifically for miniatures. These paints are formulated to adhere well to small surfaces and offer a range of vibrant colours.
How do I prime my miniatures?
Spray or brush on a thin layer of primer to your miniatures before painting. This helps the paint adhere and provides a smooth base for the rest of your layers.
What is dry brushing?
Dry brushing is a technique where you use a brush with very little paint to highlight raised areas of your model, giving it more depth and dimension.
Can I paint over existing paint?
Yes, as long as the original paint is fully dry and has been primed correctly, you can paint over it with new colours or layers.
How can I avoid paint pooling in unwanted areas?
Thin your paints and apply them in thin layers to prevent pooling in small crevices.
Do I need to use a varnish?
Yes, a varnish helps to protect your paintwork from damage. It also adds a professional finish to your miniatures.
What is the best way to clean my brushes?
Clean your brushes immediately after use with water and brush soap to prevent the paint from drying and ruining the bristles.
Can I use any kind of miniature for painting?
Yes, as long as they’re made from a paintable material such as plastic, metal, or resin.
How do I create a wash?
A wash is a diluted, darker paint that you apply to your model to create shadows. You can make your own by thinning paint with water or use pre-made washes.
Is it possible to paint miniatures quickly?
While painting miniatures does take time, you can speed up the process by using techniques like dry brushing and washes for faster results.
Ready to get started on your miniature painting journey? Visit Bomran’s website today to browse our full range of painting supplies and accessories. With the right tools and a little creativity, you’ll be painting like a pro in no time!